Alright, so you're thinking about putting up a wood fence yourself. I get it. There's a real satisfaction in building something with your own hands, and saving a few bucks never hurts. But let's be real: a wood fence isn't just a few planks and posts. There's a lot that goes into making it stand straight and last long, especially with our Vallejo weather.
Before You Even Buy a Post
First things first, you've got to plan. Seriously, don't skip this part. You need to know exactly where your property line is. Disputes with neighbors over a few inches of fence line are a nightmare, and you don't want that. Pull your property survey, or if you don't have one, consider getting a surveyor out. It's a small cost upfront that can save you a huge headache later. Also, check with the City of Vallejo planning department about permits. Most fences over a certain height (often 6 feet) will need one. You don't want to build it only to have to tear it down because you didn't get the proper approval.
Next, call 811 before you dig, every single time. It's free, it's the law, and it prevents you from hitting gas lines, water pipes, or electrical conduits. Trust me, hitting a utility line is way worse than any fence installation challenge you'll face. You'll be waiting days for repairs, and you might be on the hook for the damage.
What Kind of Wood and Why?
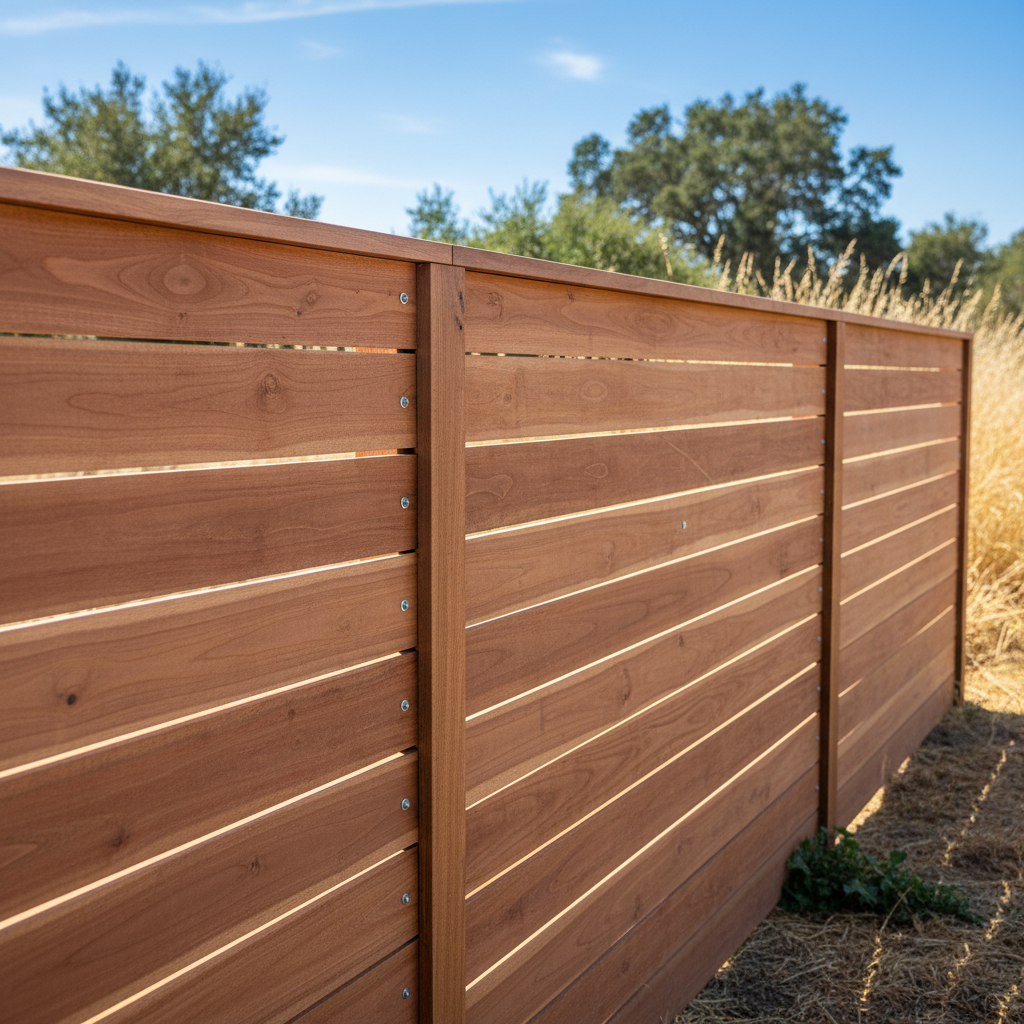
When it comes to wood, you've got options. Cedar is popular because it naturally resists rot and insects, plus it looks great. Redwood is another excellent choice for durability, but it's usually pricier. Pressure-treated pine is a more budget-friendly option, though you'll want to seal and stain it regularly to protect it from our coastal fog and the occasional soaking rain we get. I've seen plenty of fences in the older parts of town, especially down near the waterfront, that just rot out from the bottom because folks didn't use the right wood or treat it properly. Don't skimp here; the extra cost for good materials pays off in longevity.
The Digging and Setting of Posts
This is where a lot of DIYers either shine or get completely bogged down. Digging post holes is hard work, especially if your soil is full of clay or rocks, which we definitely have pockets of around here. You'll need an auger – you can rent a gas-powered one, or if you're feeling strong, a manual post-hole digger will work. The general rule is to bury at least one-third of the post's length. So, for a 6-foot fence, you're looking at 8-foot posts with 2 feet in the ground. And those holes need to be wide enough for a good concrete collar.
Setting the posts plumb (perfectly vertical) is crucial. Use a level, and brace them properly while the concrete cures. If your posts aren't straight, your whole fence will look like a wavy mess. This isn't a step to rush. Give the concrete at least 24-48 hours to set before you start attaching rails or pickets.
Attaching Rails and Pickets
Once your posts are solid, attach the horizontal rails. These connect your posts and give you something to nail your pickets to. Make sure they're level! Then comes the pickets. This is where you really see your fence take shape. Use good quality galvanized or stainless steel fasteners – regular nails will rust and stain your wood, and eventually fail. Space your pickets evenly. A simple spacer block cut from a scrap piece of wood can make this job go a lot faster and keep things consistent.
When to Call a Pro (Like Alpha Fencing Vallejo)
Look, I'm all for homeowners tackling projects, but there are times when it just makes sense to bring in the experts. If your fence line is on a significant slope, if you're dealing with tricky corners or gates, or if you just don't have the time or the tools, call us. Digging dozens of post holes in tough Vallejo soil can be back-breaking. Getting posts perfectly aligned over a long run, especially if you're building a tall privacy fence, requires experience and specialized equipment. We've got the heavy-duty augers, the laser levels, and the crew to get it done efficiently and correctly.
Building a gate, for example, looks simple but it's often the first part of a DIY fence to sag or fail if not built and installed correctly. There's a knack to building a gate that stays square and operates smoothly for years. Plus, we often get better pricing on materials because we buy in bulk, which can sometimes offset part of the labor cost.
After Installation: Maintenance is Key
Once your fence is up, your work isn't quite done. To make that wood fence last, you'll need to maintain it. Clean it periodically to remove mildew and dirt. Apply a good quality stain or sealant every few years. This protects the wood from UV rays and moisture, which are the main culprits for deterioration. Check for loose nails or screws and re-secure them. Keep vegetation from growing directly against the fence, as that holds moisture and encourages rot. A little bit of regular care will significantly extend the life of your investment.
So, can you build a wood fence yourself? Absolutely, if you're handy, have the right tools, and are willing to put in the serious effort. But don't underestimate the job. If you're feeling overwhelmed, or just want it done right the first time without the hassle, that's what Alpha Fencing Vallejo is here for. We've built enough fences in this town to know all the ins and outs.